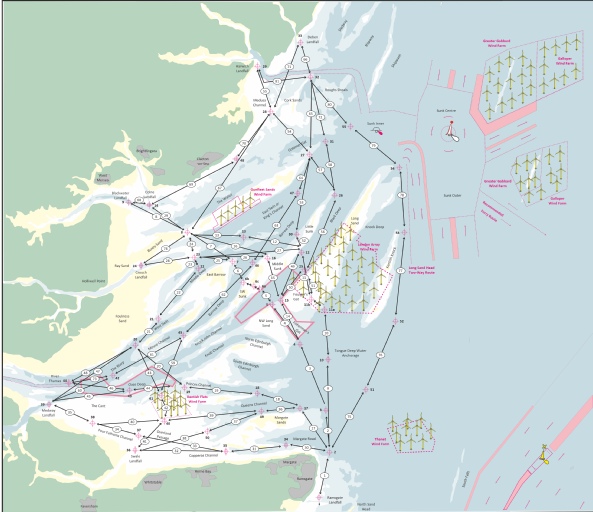
There are 60 routes covering most passages across the Estuary. The Routes are primarily, the ‘inside routes’; those that weave through or cross the various sands. But the Second Edition also includes the ‘outside’ route between Ramsgate and Harwich Harbour and the Deben. Please see the ‘Routes’ page for a full list of all the routes covered.
Route Guidance
For clarity, each route is broken down into a number of sectors, each generally corresponding to a change in course.
Each route is described in the text of the book, fully illustrated and with guidance on hazards and other detail. Comprehensive waypoints are provided for each route.
Data
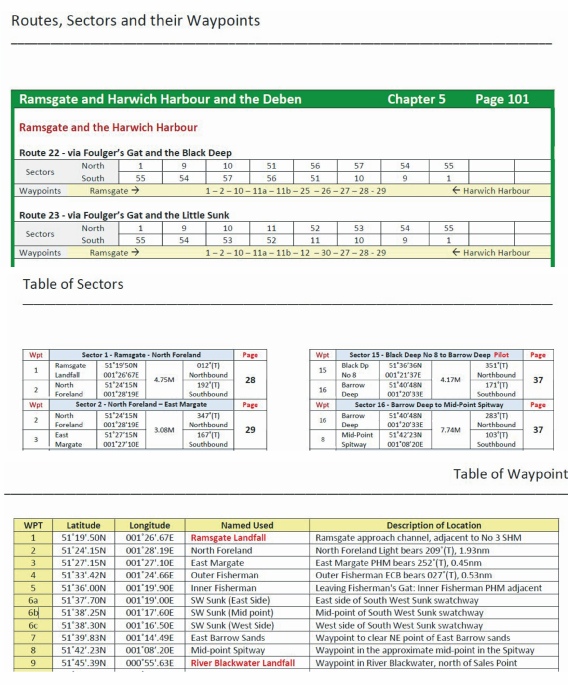
Each chapter brings together all the data you require for passage planning and the passage itself into one place. So here you will find:
Route detail of each of the 63 routes - distance, sector numbers and waypoints;
Sector detail - rhumb line data in degrees (T) and distances;
Waypoint detail - by Lat/Long and a brief general description.
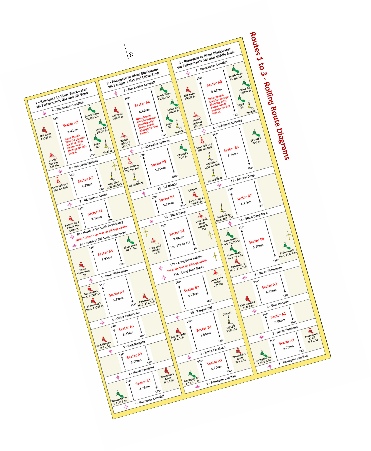
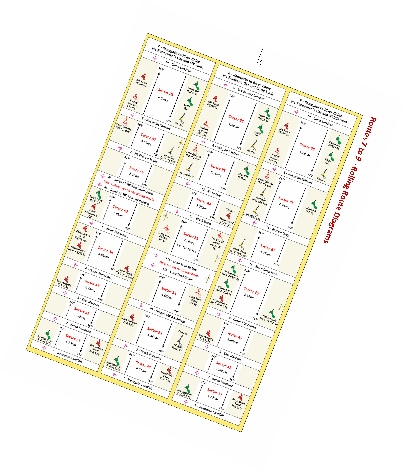
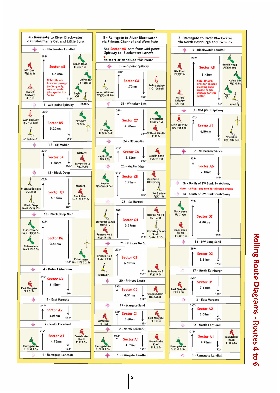
Rolling Roads for each route - ready to be open on your chart table for preparation and during the passage.
Passage Planning Tables - For average boat speeds of 4, 5, 6 and 7 Knots: Springs and Neaps
This is the unique feature of the book.
The problem with passage planning for transit across the Thames Estuary is that each route is effectively a number of different sectors requiring a course change, often meeting the tide at a different angle.
For many, passage across the Estuary will be impossible on a single favourable tide so a compromise is required. Where do you take the adverse tide? At what point will an adverse tide have the least negative effect? For some, depth of water over the sands will be crucial; this may mean losing the benefit of some of the tide for later in the passage.
Because of these factors, passage planning will be far more complex than the south coast cross-channel passage. But these planning tables remove the difficulty in selecting a start time for your passage and reviewing the implications of that choice in crossing the shallow banks and arriving at your destination.